Hands-On-Green: INSTALLING A NEW SINK AERATOR
This may be the second simplest home improvement you ever perform and it will save you gallons of water!
You will need: Replacement 1.0 gpm aerator Some muscle power
Installation Steps:
First, make sure the faucet is closed and the water has stopped running.
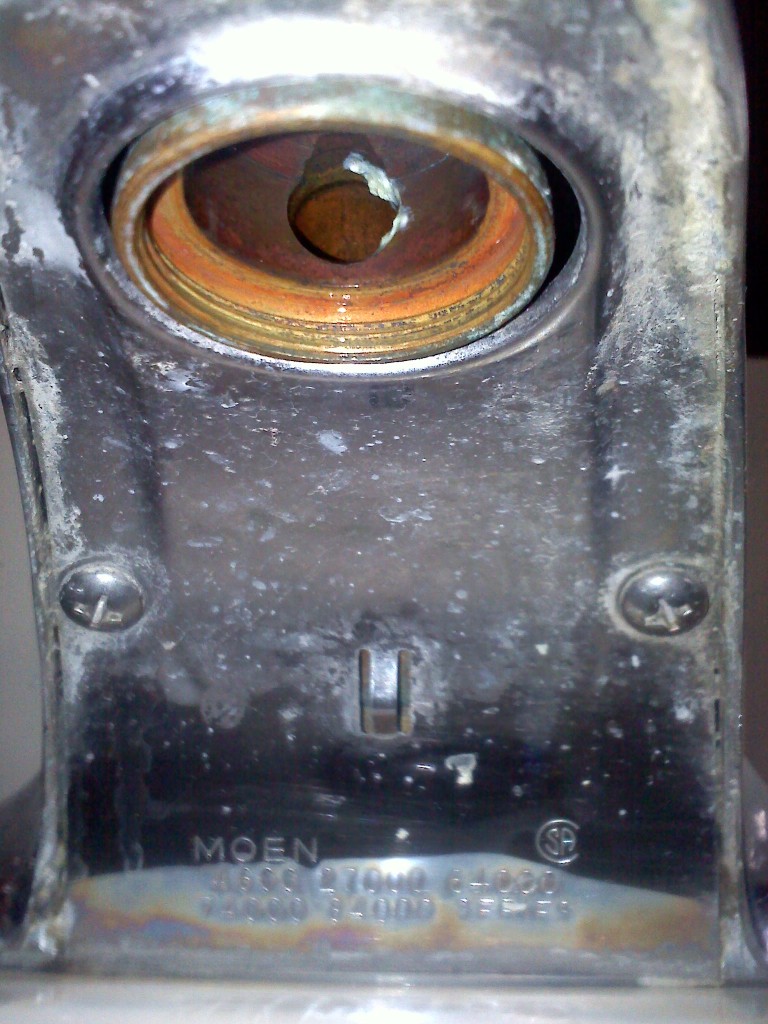
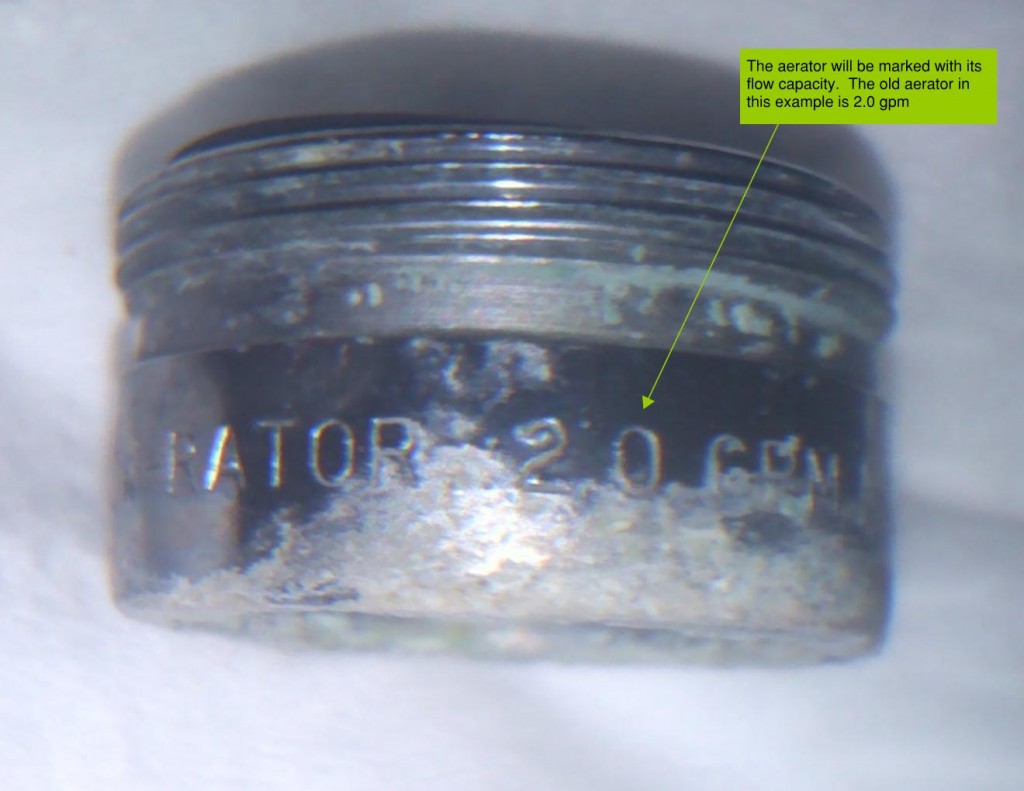
Unscrew the old aerator. This may take a bit of doing if it has been installed for any length of time but you should be able to loosen it with your hand.
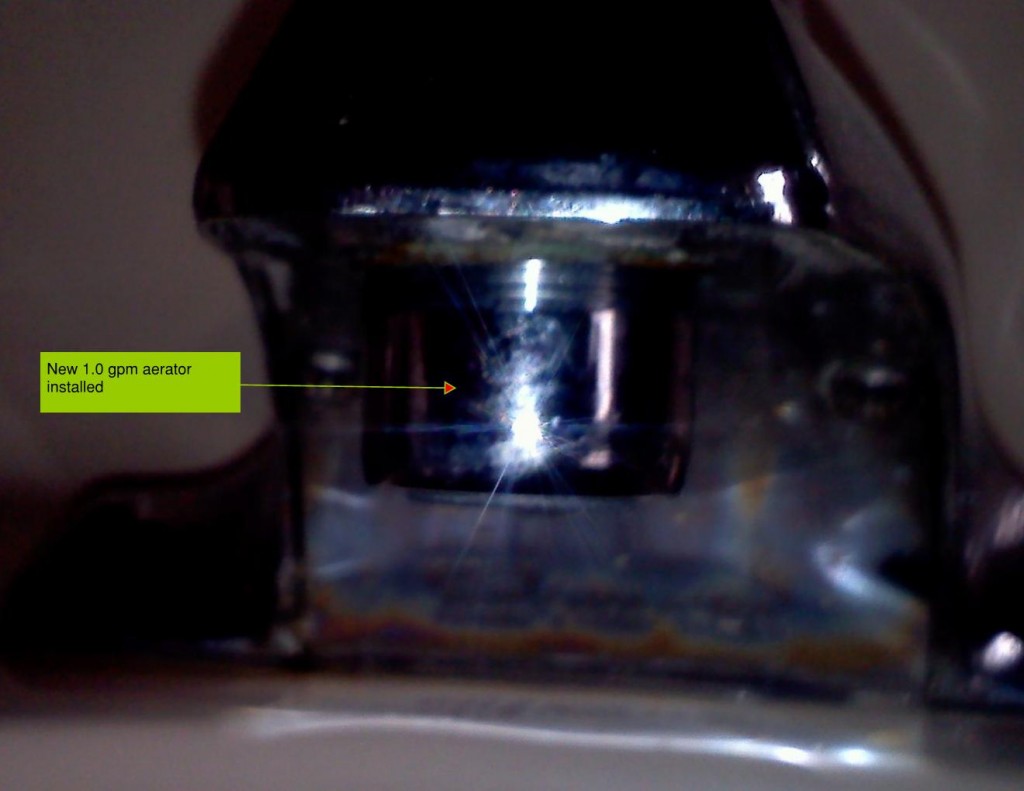
Screw the new aerator into the faucet. Make sure that it is threaded correctly.
Hand tighten the aerator very snugly.
Test the connection by turning on the water. If it sprays, it is too loose and needs to be tightened.
Ta da, you did it!


{ 2 comments… read them below or add one }
Thanks! We need to do this. The trouble is in getting the old one off without making a hash of the faucet.
You should be able to get the aerator off by turning with your hand. If you have to resort to using a wrench try wrapping a soft cloth around the aerator before gently loosening and then use your hand.